I’m still working through my options on the helm station windshield saga, but there are plenty of other things going on with the project to keep me busy. The helm windshield problem affects many other things, though, so at this point it’s unclear whether or not we’ll be able to splash the Roamer as planned in fall 2015. Getting all of the windows installed is one of the things that absolutely has to happen regardless. The bow seat windows have been awaiting installation since 2013, so I might as well get moving on that. There’s just this one little hitch though…
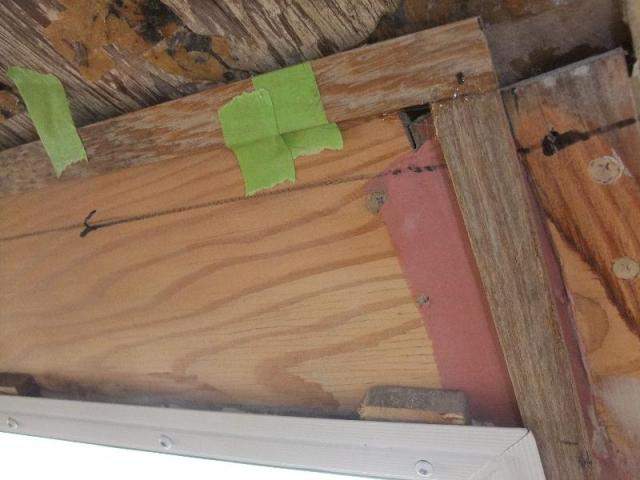
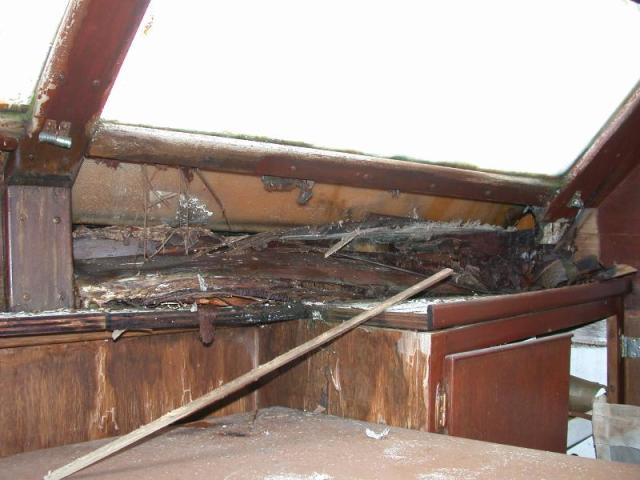
The pic above from Day One of our 1969 Roamer Refit, back in December 2007, shows how Chris Craft installed the bow seat windows from the inside, using sealant between the glass and the fiberglass cabin top, all of which was held in place by mahogany bits on the inside. As you can see, that approach did not work well, in part, because it allowed water to pool at the base of the glass. When the sealant at the base of the glass started leaking, which probably started within the first few years (if not months or even weeks) after the boat went into service, it completely destroyed the interior paneling below.
After the paperwork SNAFU was resolved in 2012 and the refit restarted in earnest, I met a woodworker who was sailing the Americas in a steel boat he’d refitted. While overwintering nearby, he developed a following of loyal customers who highly recommended him for my refit. I saw a few examples of work he’d done and eventually contracted with this sailor/woodworker, who described himself as “good but slow.” Slow was fine with me…it was the good part I was really after, and the price seemed fair.
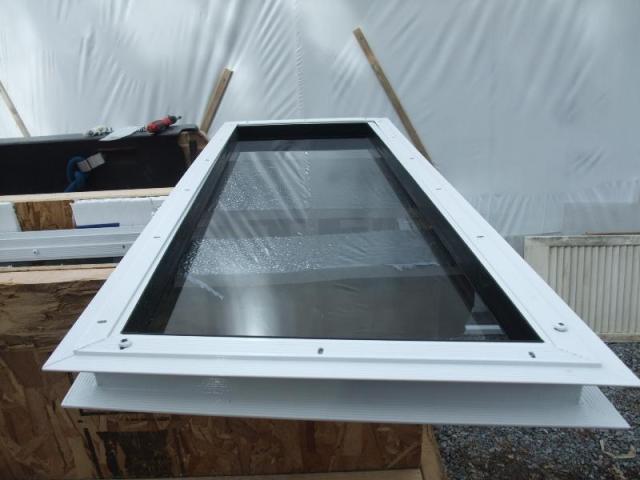
The pic above shows the clamp-in window design from Motion Windows , in which the window frame seals on the outside, but the only fasteners are on the inside of the boat. In my opinion, this design is the best in the industry since, among other things, it uses no screws on the exterior for rain to eventually find a way in. And since they’re basically flush to the exterior, water isn’t given an opportunity to pool anywhere. The manufacturer specifies no more than 1/16” deflection in the bulkhead to which their window frames are affixed, which seems reasonable since we’re talking about panes of glass that naturally want to lie in single planes. My new windows arrived in 2013.
The shot above is from 2012, when I was remaking the bow seat, and shows the galley window openings with all of the original glass, wood, and bonding compounds removed. The fiberglass is ground back and ready for Mr. Good-but-slow to install new plywood.
Since the three bow seat windows are on three different planes, I felt the best approach was to cut three panels of ¾” Douglas fir marine ply that would fit up tightly to the backside of the fiberglass around the galley window openings, yielding three planes to which the Motion Windows would clamp. Then, the fairing crew on the cabin top would simply make the exterior surfaces flat and parallel (to within 1/16”) to the 1” deep window opening (i.e. ¾” plywood + 1/8”~ 3/16” fiberglass cabin top thickness + thickened epoxy filling in any irregularities and bonding everything together). Finally, I would apply mahogany veneers to the three marine plywood panels and finish it bright before finally installing the Motion Windows.
After explaining all of this to Mr. Good-but-slow back in the fall of 2012, I came back a week later to find something other than what we had discussed.
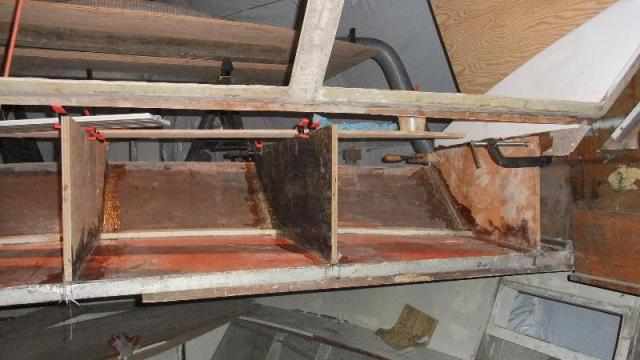
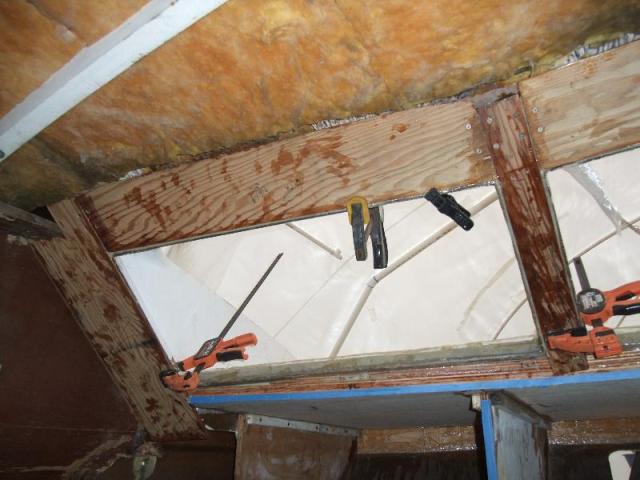
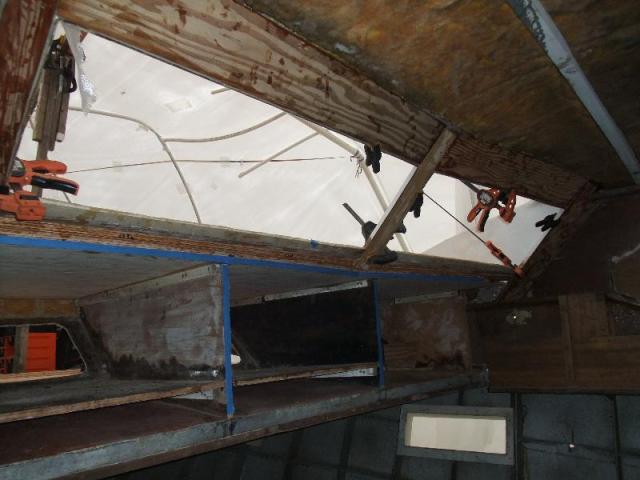
Notice in the pic above that there are not three panels of ¾” Douglas fir marine ply in three planes. Each of the separate elements—the uprights and top and bottom cross pieces–are their own separate planes.
While Mr. Good-but-slow epoxied the ten separate panels very well to the fiberglass around the window openings, his approach yielded nine planes instead of three! The planes created by the center upright bits were ~8° off of the planes for the cross pieces installed to either side. Plus, none of the top pieces were in the same plane as their corresponding bottom pieces. Instead of meeting the manufacturer’s 1/16” tolerance for the bulkhead thickness, there were up to ¼” gaps in the corners where the flat mating surface for the window’s aluminum inner clamp ring met Mr. Good-but-slow’s handiwork.
Since this pattern had recurred (to varying degrees) three times with other projects I’d assigned to Mr. Good-but-slow, I let him go when he wrapped up the 4th and last project I had him working on. Turns out that Mr. Meh-and-Slow would have been a more accurate name. As usual…Enter the Boatamalan* to fix the problems caused by the American “craftsman.”
* Boatamalan: portmanteau indicating highly skilled boat workers of Central American origin. They’re actually from Honduras, but Boatamalan rolls off the tongue better. ![]()
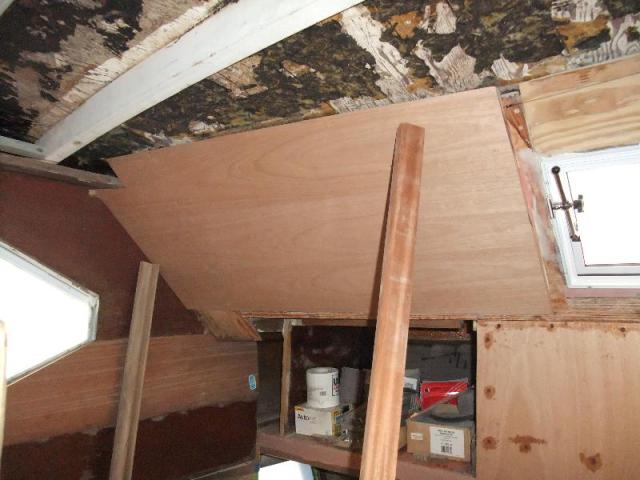
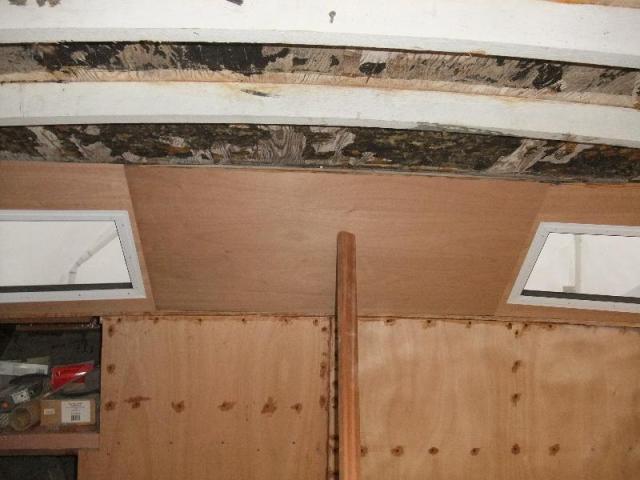
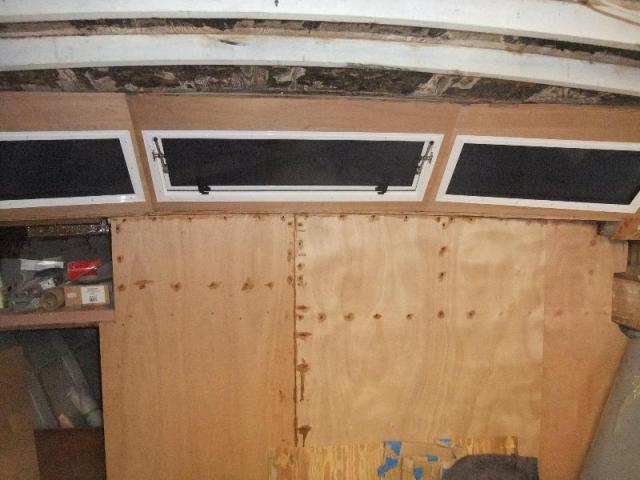
Using his mad skills with a grinder, sanding block, a straight edge, and some Awlfair, my Boatamalan fairing crew chief and most excellent painter removed material from the uprights and upper and lower elements so there were three planes—one around each window opening where the window clamp ring lands. The port and starboard-side planes meet the center plane midway through the center uprights, which is what I need for the workaround I came up with for the interior mahogany. I can’t use veneer, as planned, because of all of Mr. Good-but-slow‘s wacky planes outside of the area the Boatamalan faired. Jumping ahead to 2015, I’ll use ½” African mahogany ply to make the finished interior panels against which the interior window clamp ring will clamp.
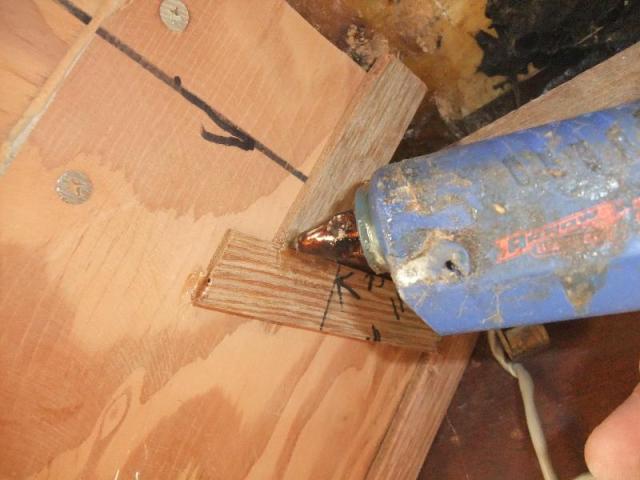
The vertical luan strip at the middle of the center upright is where port and center panels should meet
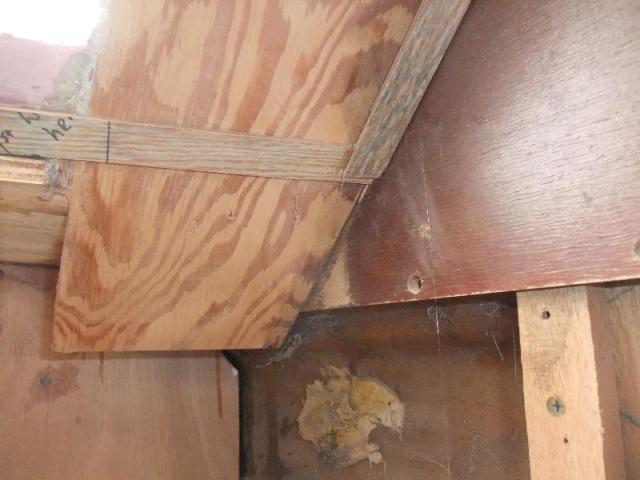
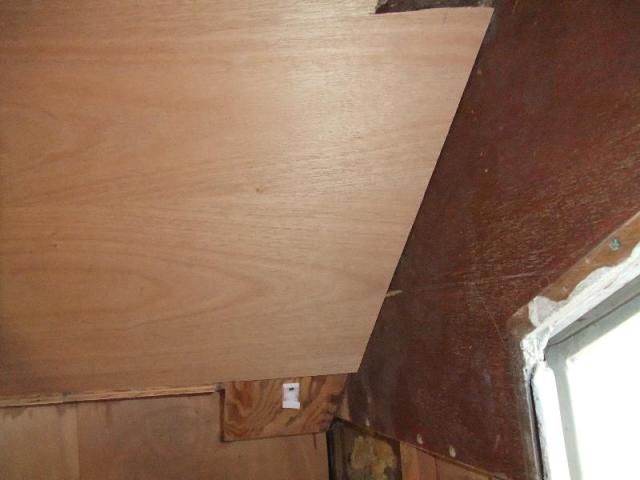
The plane of the side panels is offset from the center window panel by ~15°. So if I cut the inner edges of the side panels at 15°, I’m pretty sure I’ll be able to cut the center panel side edges square.
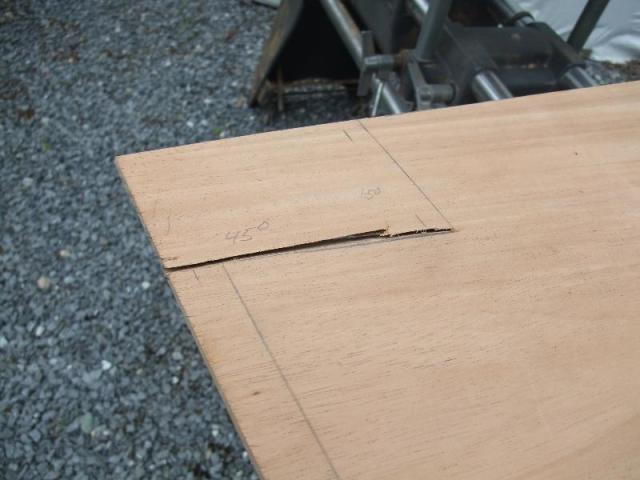
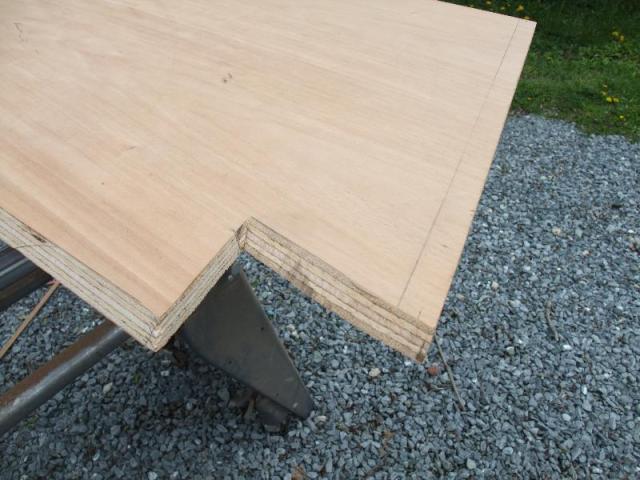
So…if I’ve done my calculations right, starting from the top in the pic above…the top edge for the side panels will need to be cut at 45°. The short vertical bit needs a 15° cut, followed by another 45° cut for the short horizontal. Then, the long vertical (or is that diagonal?) outer side edge needs a 21° cut, followed by 45° across the bottom of the panel. And I’ll need the aforementioned 15° cut for the inside edge that will meet the center panel.
I’m not a professional woodworker, and I’ve never done this kind of stuff before. What could possibly go wrong??? 🙂
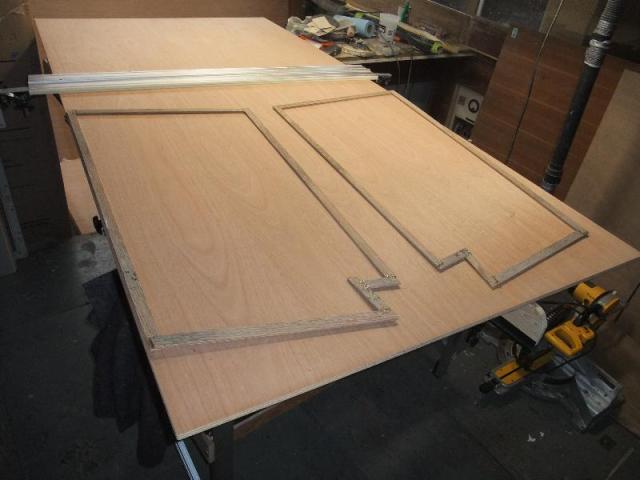
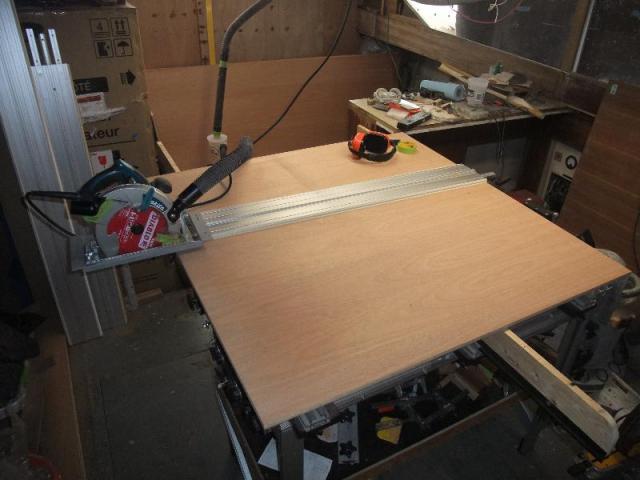
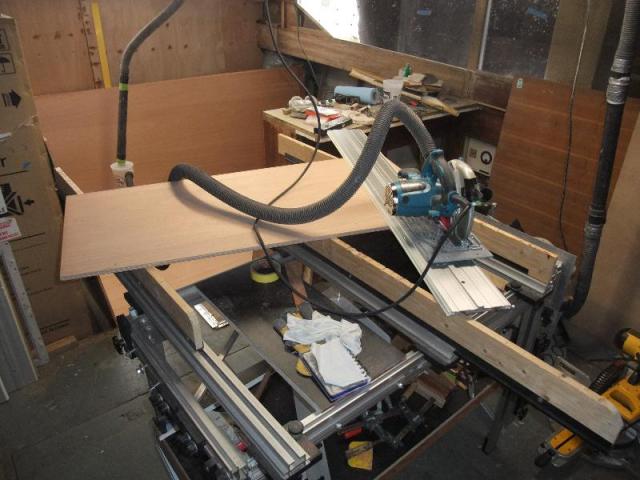
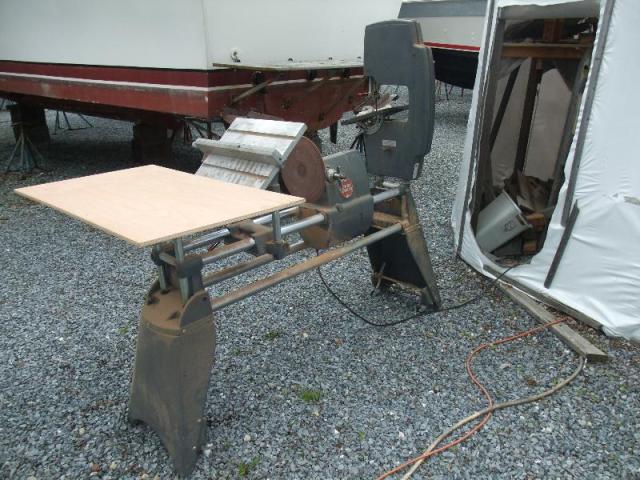
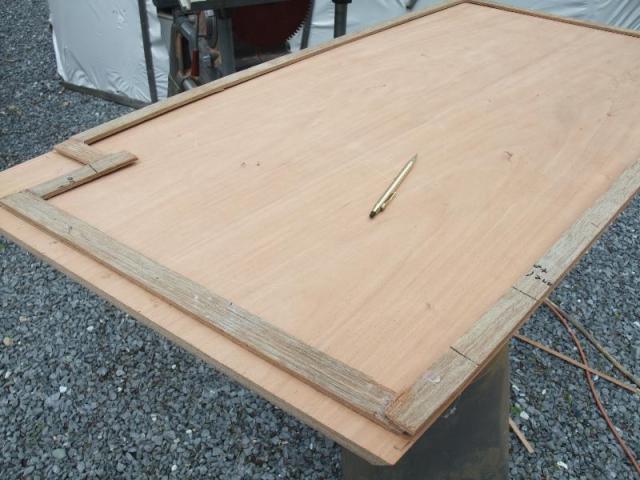
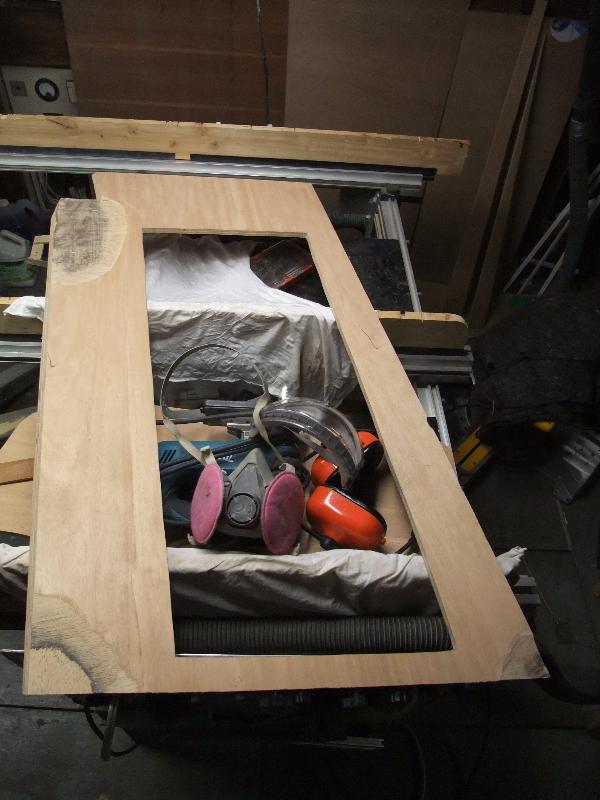
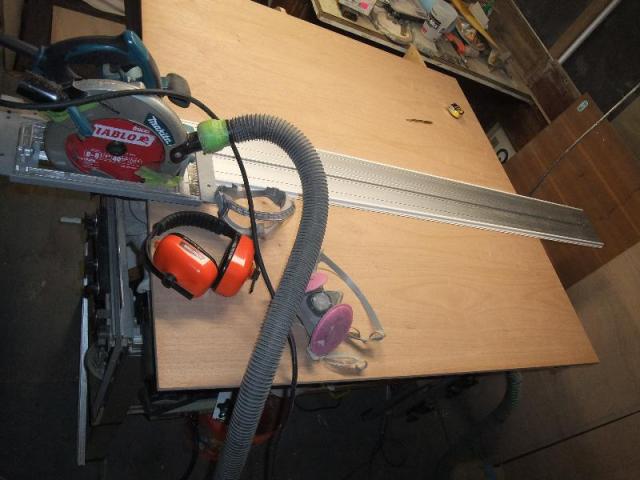
The mahogany ply in the pic above is lying on my Eureka Zone EZ-One woodworking table. For breaking down big panels in a small space with extremely precise cuts, you can’t beat this table and the track saw that goes with it.
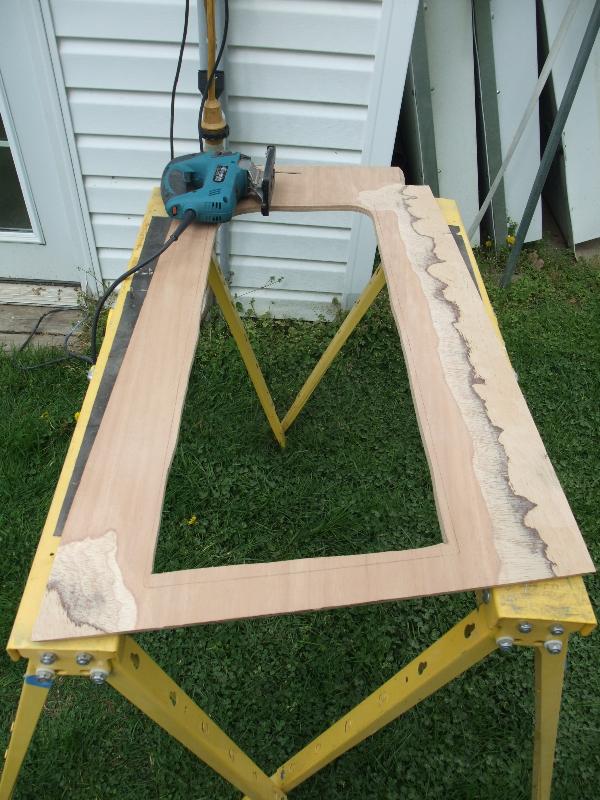
I tried to use my Makita jigsaw for the complex upper corner cuts, but with the base set at 45° I couldn’t keep the blade from wandering off the line. Time to break out the heavy hardware.
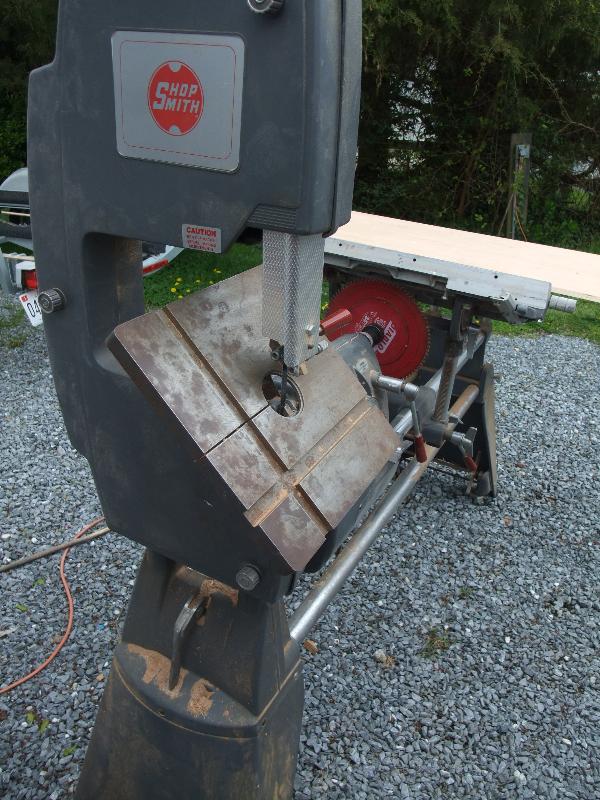
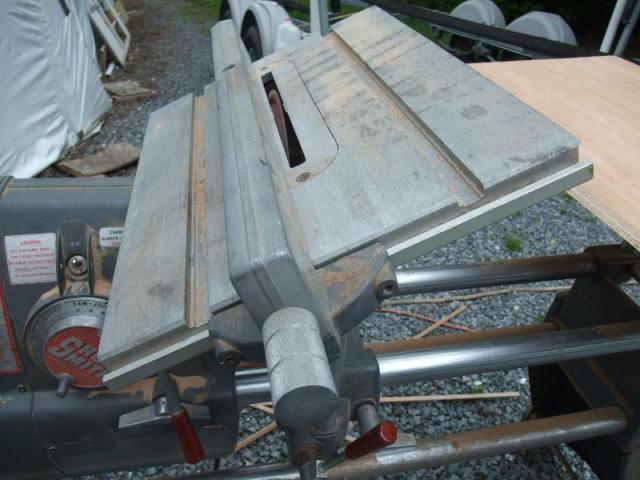
Though the bastard thieves took most of the attachments for my Shop Smith when they cleaned me out in May 2014, I’m guessing the base machine was [fortunately] too big for them to take. For the complex cuts I need to make on these panels, the Shop Smith table saw and bandsaw should get the job done.
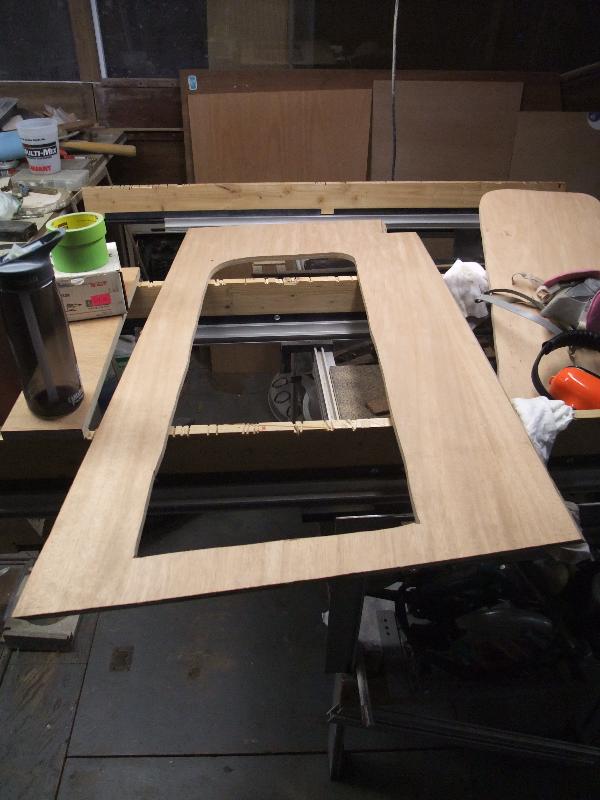
I had to finish the cuts by hand where the two angles meet in the corner, but it turned out pretty good.
My biggest fear is that I’ll get the orientation wrong on these angled cuts and go the wrong way. With each successful cut, I got more and more nervous that the next cut I made would turn the panel into scrap.
I did not take video of the happy dance I was doing after this piece clicked into place, nor would I show it to anyone if such a video existed. But rest assured…there was, indeed, a happy dance. 🙂
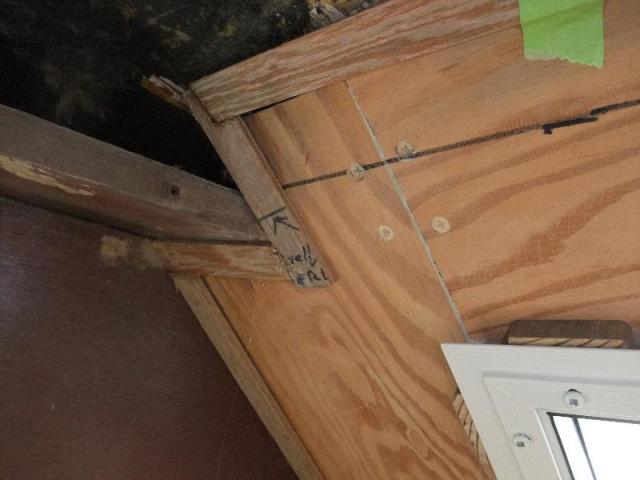
I also marked the high spots where the crazy planes from Mr. Meh-and-Slow‘s marine plywood install impinged upon the mahogany panel and stopped it from seating flush.
Now go outside and mark the window opening and any points where Mr. Good-but-slow‘s Douglas fir plywood is high.
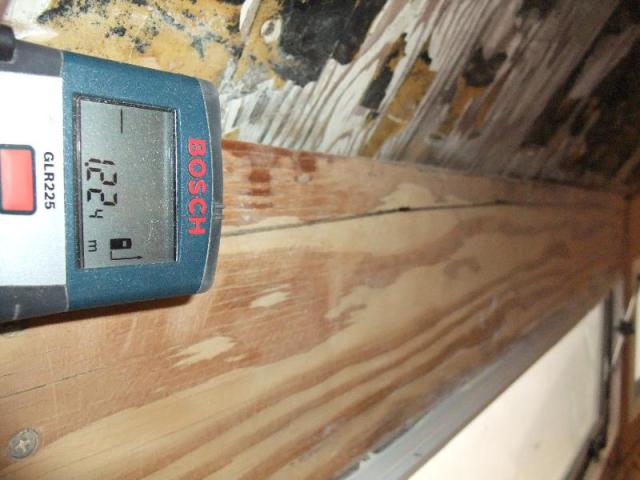
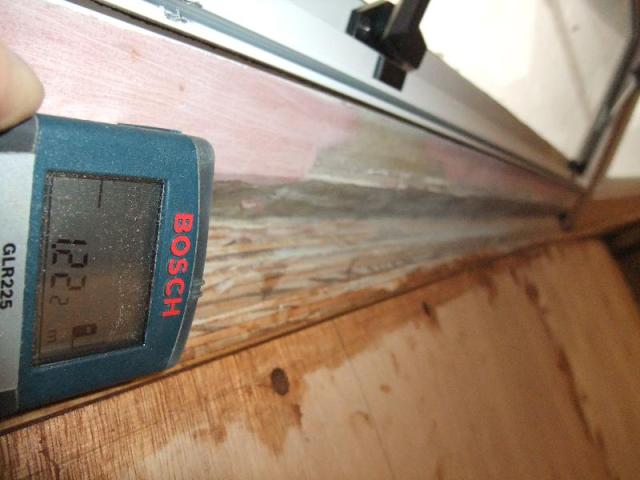
Measured between the inside edges of the two outer panels, there’s 1224mm at the top…
OK, I’m sure a real pro would nail it dead on, so I figured I’d be happy if I got it within 1/4″ (~6mm). But 2mm off over the height of the panel comes to only 0.03 degrees off on my final cut. I have no idea how I did that, but not too damned bad if I do say so myself! And I can easily make that up when I cut the final center panel.
More happy dance… 🙂
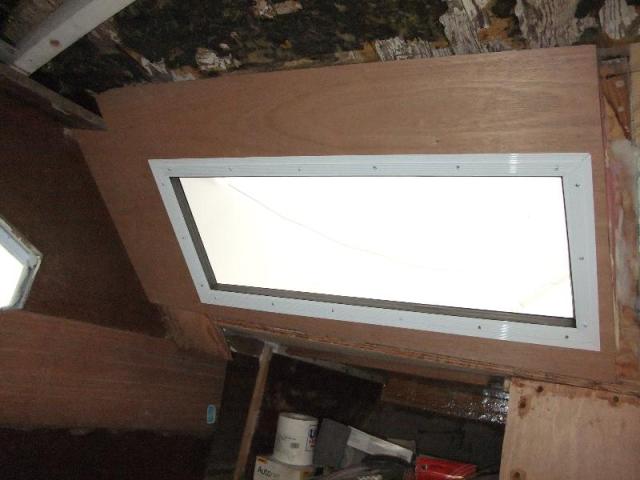
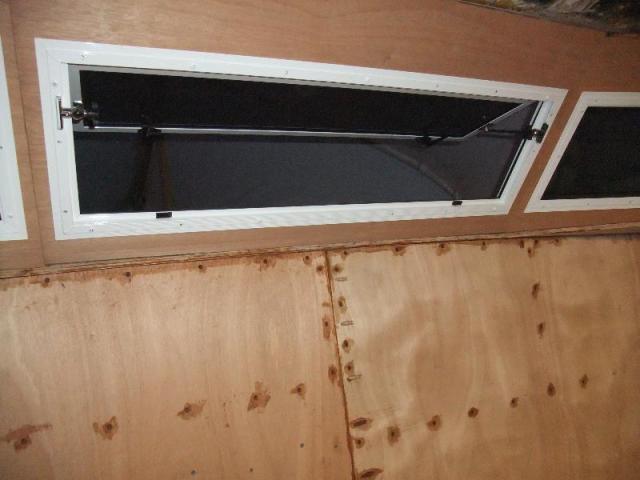
The center bow seat opens, which is one of the neater updates we’ve done to the original design. When we’re out in an anchorage or under way, we’ll get great airflow through the galley and salon. Venting heat from cooking in the galley will be a breeze, too: just flip the window open and lock it in place.
I need to take the panels off again and send them to the Boatamalan to be coated on the inner mahogany surface with ICA clear coat base before I epoxy them in place and install the windows for good. This is the same approach I used with the aft stateroom bulkhead walls, which turned out surprisingly nice. Resolving the problems created by Mr. Good-but-slow and getting the panels fitted is a huge step toward getting the glass in and [hopefully] splashing in 2015.
Next up in our 1969 Chris Craft Roamer 46 Refit: Aft Stateroom Head Walls


Any forward movement on getting the Engines installed?
I keep the blog pretty close to real time. When I’m working in the ER next, there’ll be an article on it. 😉
I must agree with Doug— Great job on the Roamer and the Blog!!
I mentioned in the past that I once was half owner of a 1967 45′ Connie– My co owner and I did all the upkeep on her.. What you are doing though is beyond my skill level..
Thanks Kent!
Great job! Love the blog and love your consistent quality first approach.
Doug
Thanks Doug!
Just goes to show, if you want something done right, you have to do it yourself. Great job, as usual.
Thanks! I don’t know what the deal is with the American “craftsmen” in this area. It doesn’t seem to matter what rate they charge, the end product just isn’t right. But doing everything myself takes sooo much more time!
Cheers,
Q