We got slammed by still more snow in mid-March and again the last weekend before April, which meant the water table that’s been right at the surface of the gravel under the boat all winter wouldn’t be going away any time soon. And that means I don’t have my prop shafts installed yet. Which means I haven’t relocated the engines or installed the engine beds. Sometimes I don’t even know why I try to keep a schedule.
But there’s lots of stuff to do on the inside, like finishing up the aft stateroom sub-floors I installed in March. But I also need to get ready to start making sawdust, because once the engines are installed, the steering and rudders are working, and the trim tabs are back where they’re supposed to be, I’m going to be all over the interior…once I install the bloody helm windshield.
Piece of cake.
I’ve also grown tired of kicking up a cloud of fairing compound dust every time I touch certain things inside the boat that haven’t moved much since we were longboarding, priming and painting the exterior. So I cleaned up the salon, put some big pieces of mahogany trim temporarily back where they came from to get them out of the way, and set up my EZ-One Woodworking Center.

The aft stateroom floors were roughed in
The floors were there, but they were only supported on the ends so the boards were pretty bouncy. I needed to cut some longitudinal supports. But first, I had to clean up and organize the aft stateroom and salon.

Organized aft stateroom
All of the 1×1 solid mahogany we recycled during the demolition phase is on the left, with bigger planks on the right.

Hose clamp collection is organized and (finally) under control

Salon floor is almost fully visible!
Next, I finished setting up my EZ-One Woodworking Center, which is basically an all-in-one table saw, panel saw, router table, and work bench.
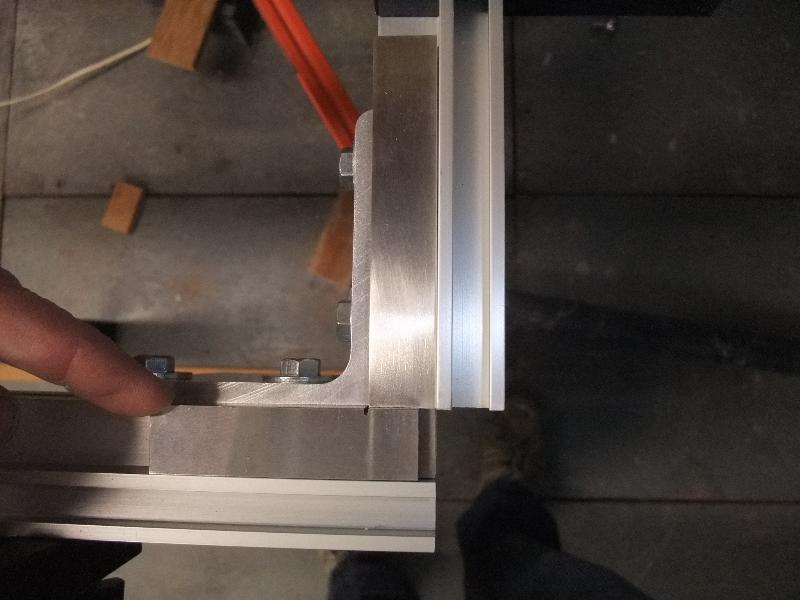
Use an engineer’s square to square the table
There was a few thousandths of an inch gap at the top of the square, so I loosened all of the bolts while checking the four corners. Once it was perfectly square, I tightened the bolts and locked it into position.
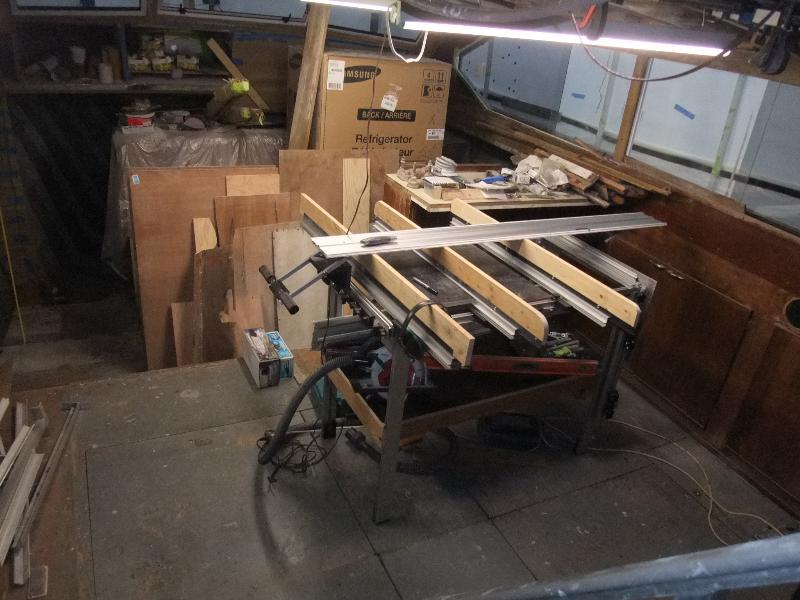
Fully assembled EZ-One
I decided to buy an EZ-One because I will be cutting lots of expensive plywood panels when I do the interior, and there just isn’t room in the boat for a table saw, panel saw, and other equipment needed to do the job. The EZ-One has a relatively small footprint. It’s lightweight. And using the EZ track system to guide my circular saw, I can cut 4×8 sheets of plywood lengthwise with cabinetmaker’s precision without having to sand to a line. Used properly, this baby can cut perfectly to a line over the length of any panel I’ll be working with. I’ve been using the tracks for a while and am comfortable with the system, but I need to get some practice time in on the table before I start cutting up panels of mahogany plywood for cabinets, walls, and bulkheads.

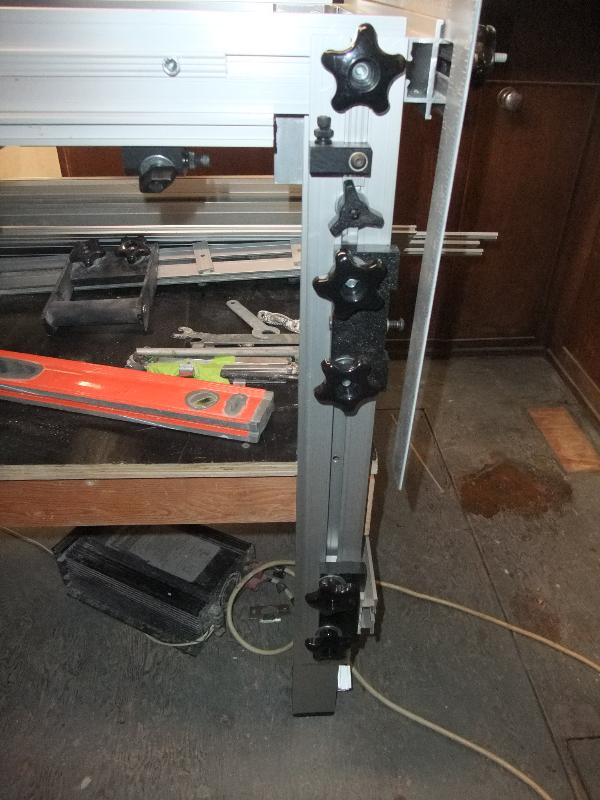
Plenty of storage on the shelf and also on the aluminum extrusion frames of the EZ-One
I’ve got extra clamps, stops, etc for the EZ-One, and they all store very nicely in the frame extrusions. I’ve also got spare tracks on the shelf of the table. You can attach multiple tracks lengthwise for ripping longer panels.
More repeater stops and other attachments

It’s always something…
With the EZ-One set up I was ready to start cutting longitudinal support panels for the aft stateroom floors. But when I put on my hearing protection the headband snapped!

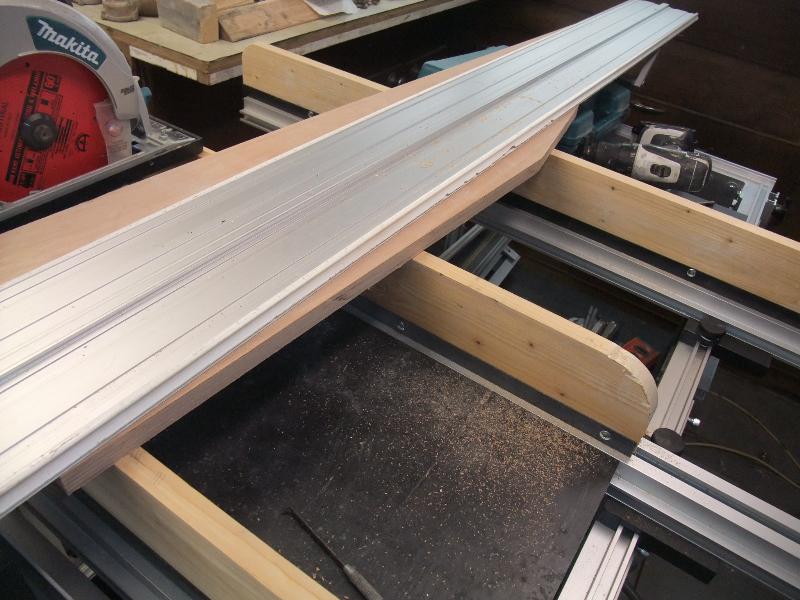
Rough cut longitudinal panel needs some trimming
The panel fits fine under the new aft stateroom floor everywhere but along the bottom, where it’s too tall between the notch and the leading edge. I need to knock off the angle cut. Of course, this sort of work doesn’t require precision to the thousandth of an inch, but I think it’s good for me to practice with the new equipment as much as possible. The track is installed so as to make “the bridge” of the EZ-One table. All you do is raise the bridge, slide the panel under, lower the bridge, align the track to the cut line, and start cutting.

Line up the track on the front…

…and on the back…
Ready to make the cut

Et voila!
With the EZ-One table set up and the boat interior organized, it just got a lot easier to cut and install panels. Now the only longstanding tripping hazard I need to deal with is all of the original wiring that’s strewn about.
Next up on our 1969 Chris Craft Roamer 46 Refit: Organizing the Electrical System.
