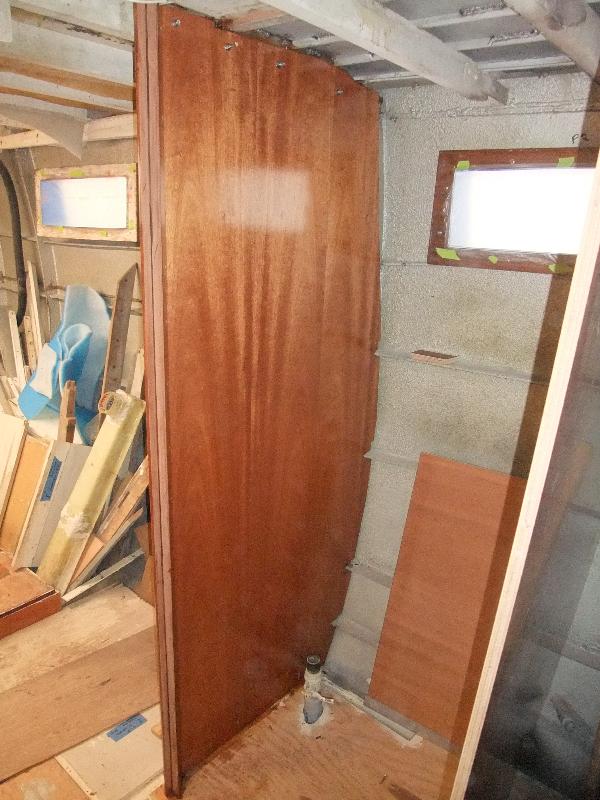
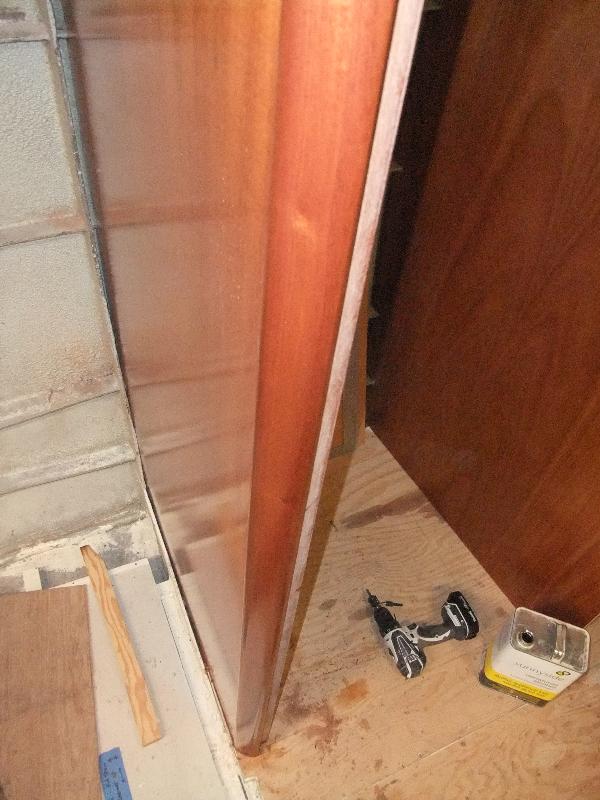
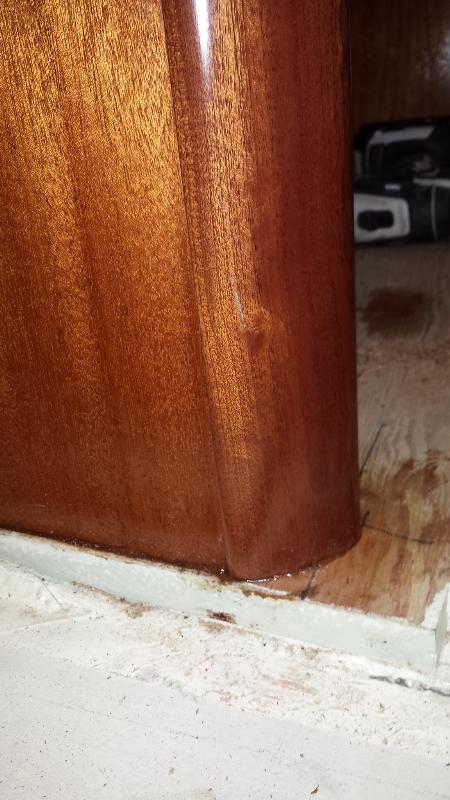
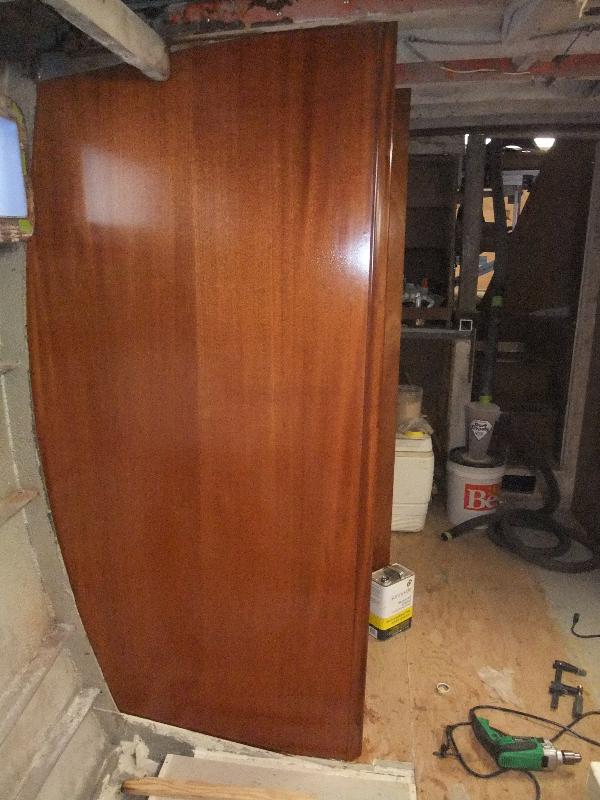
This is the big test to see if my joinery plan will work. Unlike Chris Craft, I plan to use round corners for all of the new joinery rather than square. I also plan to avoid bungs on the visible cabinet and wall surfaces whenever possible. I’m also using epoxy thickened with wood flour and pocket screws rather than 1″x1″ cleats to glue and screw it all together. To avoid having the thickened epoxy stain the mahogany when I put the panels and other components together, I had my painter apply a heavy layer of ICA clear base coat to the panels after I rough cut them to size. In this article, I pull together a bunch of pieces that have been in the works for a while and install the first of several aft stateroom walls.
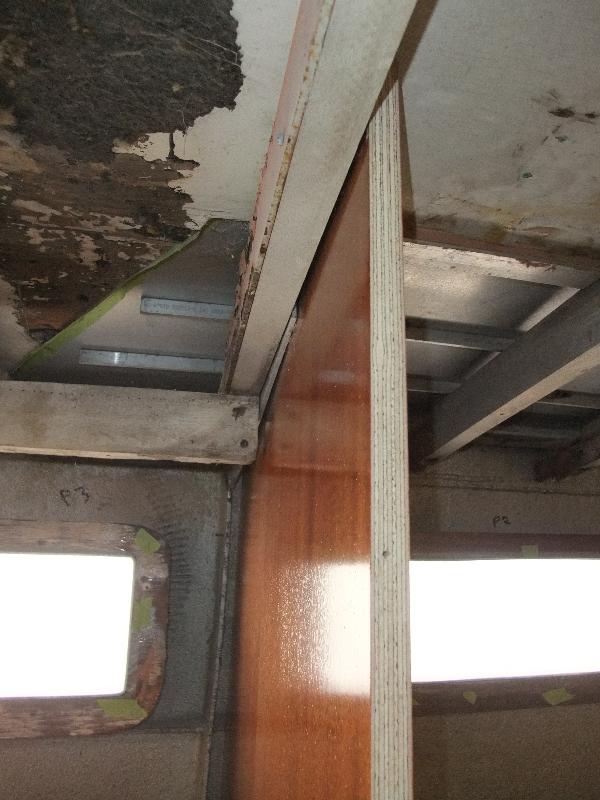
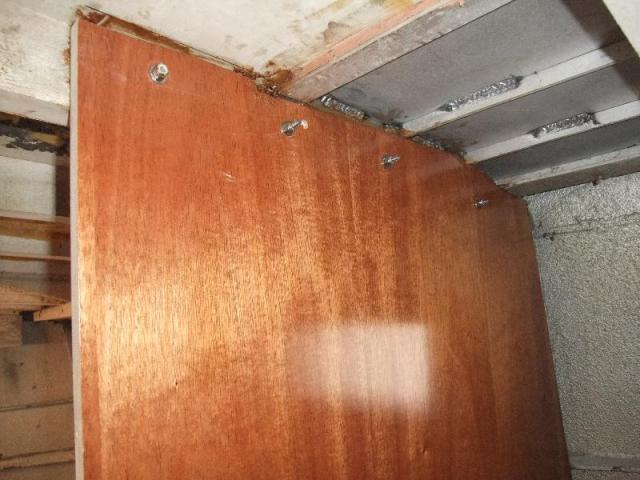
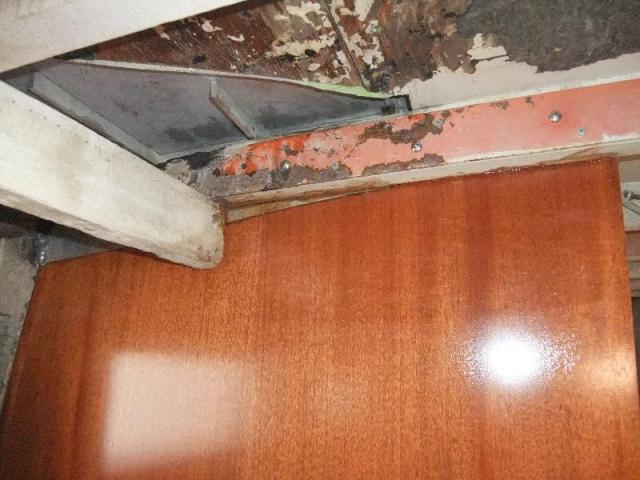
When we turned sheets of aluminum into side decks to replace teak that had rotted, I had tabs on the underside of the new deck panels welded to the hull frames to better support the structure. The mahogany panel extends past the end of the tab, which is fitted up tight to the original mahogany frame that supports the aft deck overhead. So I’ll use scraps from the side deck build to fill that gap and and provide a solid contact surface all the way across the top of the mahogany wall panel. When it’s all bolted and epoxied together, the wall panel will become a structural element supporting the aft deck above.
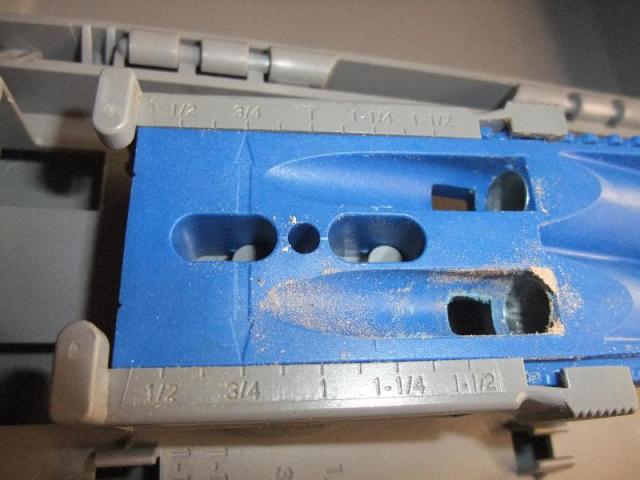
While the wood flour-thickened epoxy starts to set up, I got to work with my newest toy.
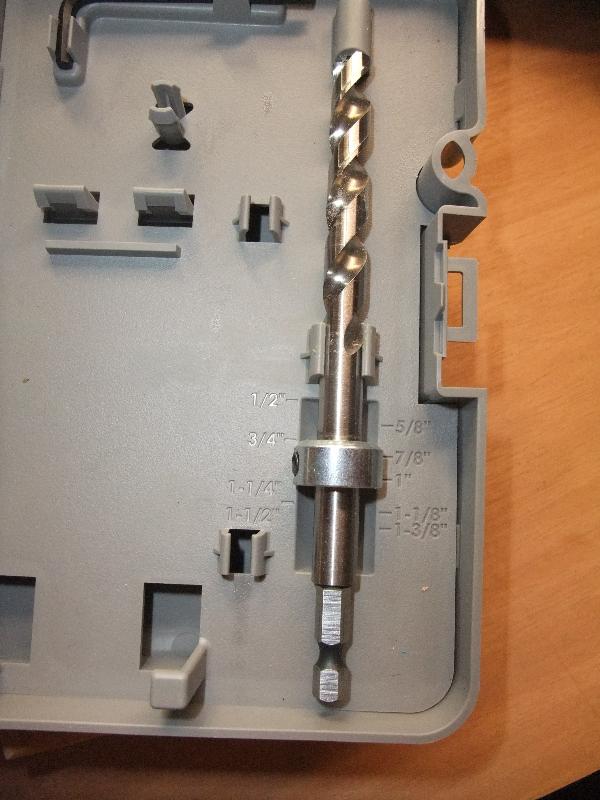
Great use of materials here, having the stop collar jig integral to the tool case.
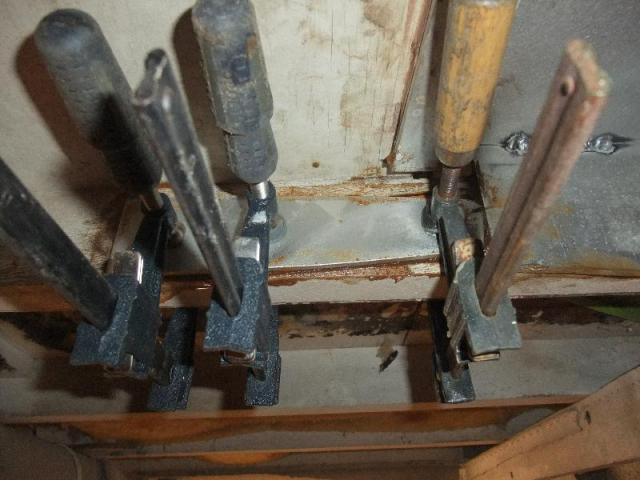
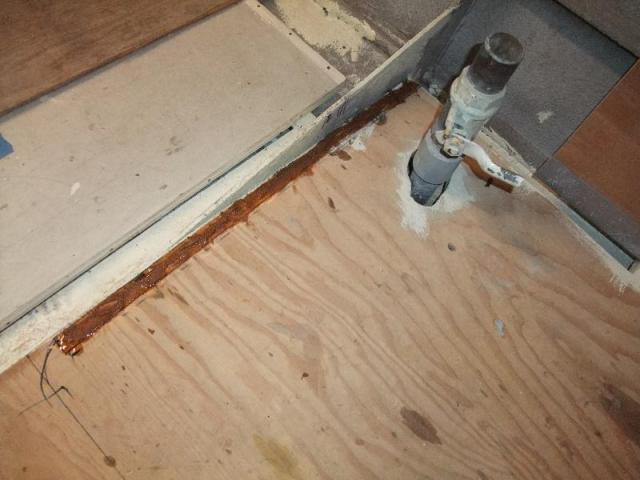
I also roughed up the mahogany wall panel where it will contact the overhead frame, then wetted out that area and the bottom edge with epoxy. The first coat of straight epoxy soaks in pretty quickly to cut plywood edges, so I reapplied there several times.
The bolts, frames, and insulation I’ll install will all be hidden by the headliner.
The orange part of the frame in the pic above is a 1/4″ steel plate that runs across the entire width of the cabin. It’s attached to the mahogany frame with wood screws and, no doubt, adds some rigidity to the aft deck that these frames support. Since I’m through-bolting the entire assembly, I believe this will add much more strength to the aft deck than it had originally. The original anti-corrosion coating has failed in this area, but I’ll clean that up and recoat it with modern epoxy later. It would have been easiest to do that when we were replacing the side decks, but I didn’t think of it at the time.
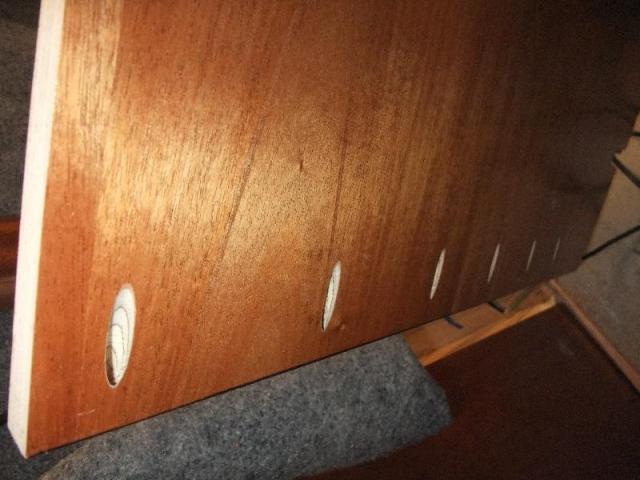
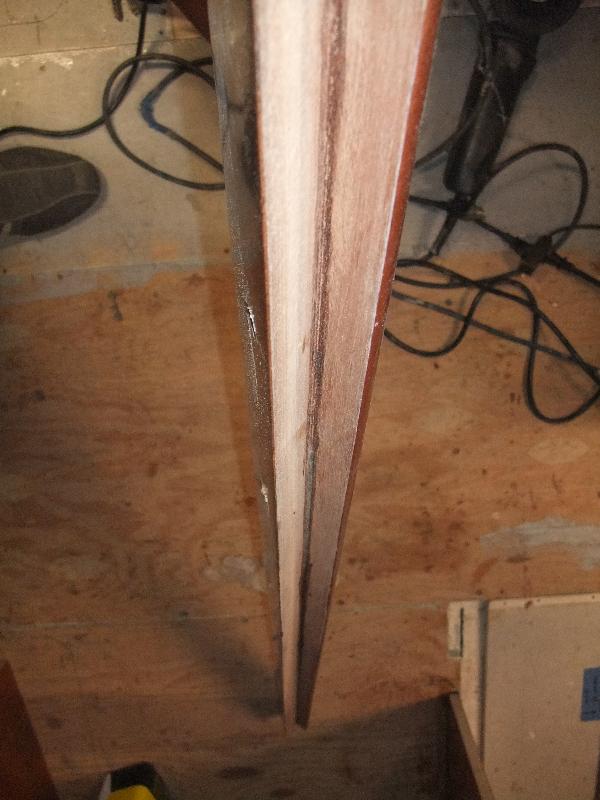
As with the mahogany plywood, I had the visible parts of the corner pieces coated with ICA clear base coat. We taped off the inside corners so the epoxy would be able to soak into and bond directly to bare wood. The clear coating on the visible parts protects the wood from being discolored by any epoxy that squeezes out, and clean up is easy using an alcohol-soaked rag.
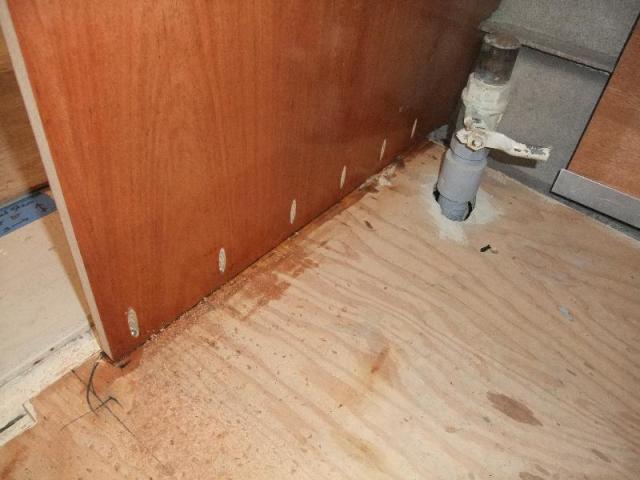
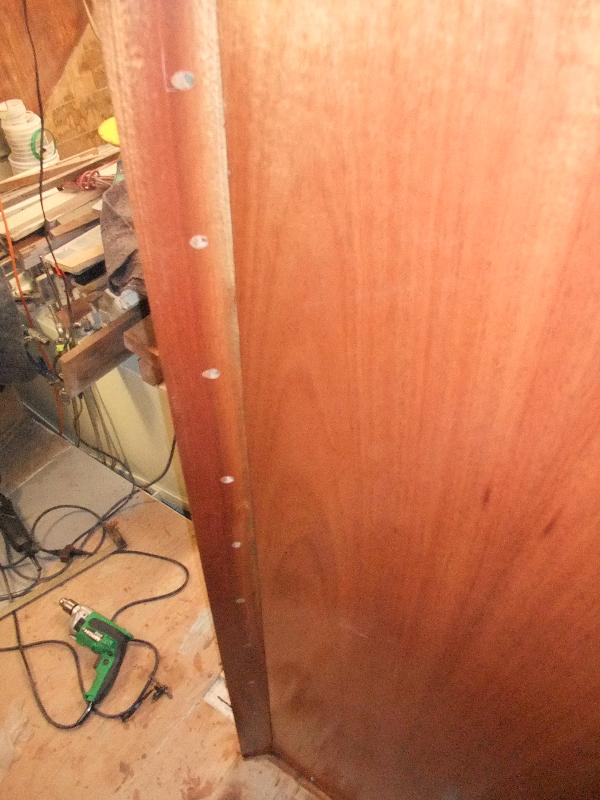
The shot above shows what the back side of the corner piece looks like when attached. I may put in bungs later, but since this is the inside of a closet I may just coat each counterbore with epoxy to exclude condensation.
Next up on our 1969 Chris Craft Roamer 46 Refit: Installing Aft Stateroom Walls II


Inspiring!
Ok, That’s bitchin ! I was planning the round corner detail on the Fairliner remodel, but had not thought thru all the details like you have. Finishing the panels prior to installation is genius ! I use the pocket drill system to build cabinet face frames. Works like a charm. Anyway, It’s amazing to see the tolerances that these boats were built to by the factory. Reconfiguration demands you playing your chess game many moves ahead. Glad to see that you are winning most of the time ! I look forward to your next update. Thanks for all the time you spend documenting this process. I know how time consuming it can be. One thing for sure, when you get this boat done, it will be far superior in fit, finish and function to version 1.0 ! Keep up the good work ! Tracy
Tracy thanks, man, for the comments! I really appreciate it.
If you start a blog about your Fairliner, post it up here!
Cheers,
Q
I have to satisfy my boat building dreams thru your project! After my shelter blew down for about the 6th time, the wood/fiberglass Fairliner 310 had sufficient dry rot that I hauled her up to a field and built a funeral pyre for the death of that dream! So not to unduly place too much performance anxiety on you, but keep impressing everyone. The ball is in your court!
Hi Q,
What are you doing to the edges of the 3/4 ply that come in contact with the aluminum hull sides to prevent moisture / condensation from seeping in to the plywood? I realize that the hull has a coating on the inside but when you spray foam insulate the sides those areas where the plywood walls come in contact with the aluminum hull will have no insulation and may be subject to condensation and moisture transfer.
Mark
Lake of the Woods
1989 Hatteras 40 DC
Hi Mark.
In my first post on fitting the aft stateroom walls, some of the last pix showed where I edge sealed the panels with epoxy.
Cheers,
Q
Fabulous!!!!